
I have 4 Cards in this publication including the Cover Card!!! Whoo hoo... my first Cover!
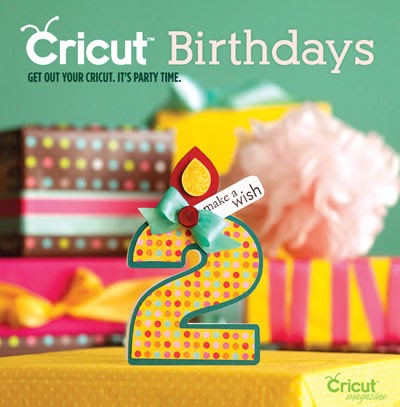
You can see they actually did the mock cover with my card but decided to redo the card to make it into a 5 in order to Celebrate Cicuts 5th Birthday!

Here is my version of the Cover Card!
 |
| On the Cover |
Here are the other 3 cards that were published in this magazine!
 |
| Page 11 |
 |
| Page 12 |
 |
| Page 92 |
Details: Sweet Treats "candle5" (Shdow/Blackout)(Shift) at 5" - cut 3 2 of the same colour and one of patterned paper "candle5"(shift) at 3 1/4", "candle5"(Layers) at 1 1/2" "candle5" (Layers(Shift) at 1"
Cut the listed shapes from your desired cardstock and/or patterned paper. Score one of the "candle5"(Shadow/Backout)(Shift) cuts at about 1/2" from the very top of the cut. Adhere the folded part to the matching color to create the card base. Adhere the "candle5"(Shadow/Backout)(Shift) cut o top. Layer the "candle5" (Layers)(Shift) cut on the "candle5" (Layers) cut with foam adhesive and adhere them to the top of the card front. Stamp a sentiment on a strip of white cardstock and round the right edges of the strip. Adhere it to the card front just below the "candle5"(Layers) cut. Tie a bow with ribbon and adhere a button to the centre of the bow. dd the bow to the end of the stamped cardstock.
CELEBRATE TODAY: Cardstock: Bazzil, Patterned Paper: Die Cuts with a View, Twine and sentiment stamp: Papertrey Ink, Gilitter: Ranger Stickles, Markers: Copic, Tag punch: McGill; Cricut Expession.
Details: Create a Critter
6 comments:
ya Avril!!!!
Congratulations to you!
Georgiana
Carson's Creations
you are the queen of the shaped card!
Amazing! What an accomplishment.....a cover. You are brilliant.
Congratulations!! So deserved!!! These are all so amazing.
You are the cricut queen to me!
Post a Comment