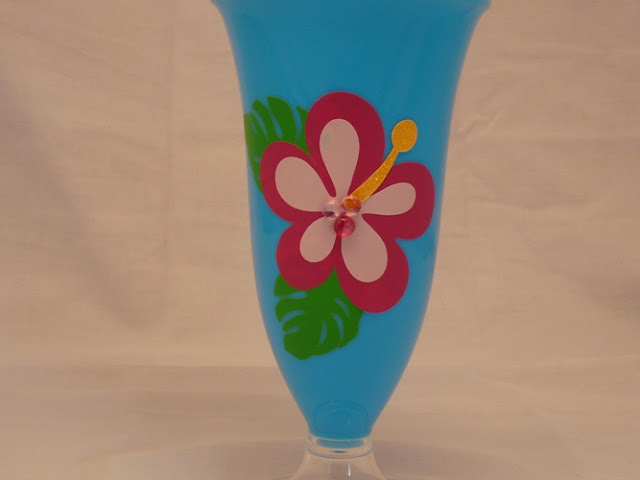
So as part of the table decor for Scrapfest I wanted to add a little viynl flower to some tumblers, plates and a bucket I found at the Dollarstore!
So here is what I basically started out with for the tumblers!
Some Pink and Green Vinyl and since I did not have any yellow vinyl I just used some yellow cardstock, the Life's a Beach Cricut Cartridge and some Yellow Stikles to add a little Bling! So here is the finished product!
As you can see I needed 7 glasses in total!
I also made my Drink Umbrella's to match using a Scalloped Circle cut that came with my Cricut Expression 2 machine.
Blue Luau Glasses Instructions:
- Green Vinyl Leaf
is cut at 1 ½” from Page 37 of Life is a Beach Cartridge, you will need 2 for each glass. - Cut Pink Flower
from Dark Pink Vinyl at 2 ¾” from Pg 34 at of Life is a Beach Cartridge, you will need 1 for each glass - Cut the Flower layer in light pink vinyl using the Layer feature at the same size from Pg 34 of the Life is a Beach Cartridge.
- Place the light pink flower layer on top of the dark pink flower before placing on cups.
- Put the leaves on the cups first then the flower.
- Cut the Flower layer again in Yellow Cardstock at the same size for the center of the flower.
- Using a zyron sticker maker place the yellow centre cut on the flower.
- Apply yellow stickles to yellow centre cut and allow to dry.
Drink Umbrella Instructions:
Cricut Expression 2, Cricut American Alphabet (Pg 65
- Cut the scalloped circle
using the blackout feature at 4.5” out - Cut 8 all together 2 out of each patterned paper.
- Score in between each petal of the flower cut.
- Trim away one petal leaving a flap to be used to attach to the other petal to create umbrella shape.
- Fold each petal along the score and glue the flap to the other petal.
- Glue Wooden skewer to the centre of the inside of the umbrella
Come back tomorrow and I will show you how I created a 2 Tierd plate tray to use as a cupcake stand as well as a bucket to house some some drinks with ice that match the tumblers!


1 comment:
These turned out so amazing Avril!
Post a Comment